
th6320wf2003 installation manual
- Published
- in Manuals
Welcome to the TH6320WF2003 installation manual. This guide provides step-by-step instructions for installing and configuring the Honeywell T6 Pro Smart Thermostat. Ensure safety and compliance with local regulations during installation. Designed for compatibility with most HVAC systems, this thermostat offers advanced smart features for efficient temperature control. Read carefully to guarantee proper setup and optimal performance.
1.1 Overview of the Honeywell T6 Pro Smart Thermostat
The Honeywell T6 Pro Smart Thermostat (TH6320WF2003) is a cutting-edge, Wi-Fi-enabled device designed to enhance home comfort and energy efficiency. With its intuitive interface and smart features, it allows users to control temperature settings remotely via a smartphone app. Compatible with most HVAC systems, including heating, cooling, and heat pumps, this thermostat is ideal for modern homes seeking advanced climate control. Its sleek design and user-friendly navigation make it a popular choice for homeowners looking to upgrade their heating and cooling systems. This manual provides detailed guidance for its installation and setup.
1.2 Importance of Proper Installation
Proper installation of the Honeywell T6 Pro Smart Thermostat (TH6320WF2003) is crucial for ensuring safe, efficient, and reliable operation. Incorrect wiring or setup can lead to system malfunctions, energy inefficiency, or even safety hazards. Following the manual’s instructions carefully minimizes risks and ensures compatibility with your HVAC system. Proper installation also guarantees optimal performance, including advanced smart features and energy-saving capabilities. Always shut off power to the system before starting and verify compatibility with your heating and cooling setup to avoid potential issues.
System Requirements and Compatibility
The Honeywell T6 Pro Smart Thermostat (TH6320WF2003) is compatible with most heating, cooling, and heat pump systems. It requires a 24 VAC power supply for operation.
2.1 Compatible HVAC Systems (Heating, Cooling, Heat Pumps)
The Honeywell T6 Pro Smart Thermostat (TH6320WF2003) is designed to work with various HVAC systems, including gas furnaces, air conditioning units, and heat pumps. It supports 2H/2C conventional systems and is also compatible with heat pumps, making it versatile for different home setups. Proper compatibility ensures efficient performance and seamless integration with your existing heating and cooling infrastructure, providing reliable temperature control and energy efficiency. Always verify your system type before installation to ensure optimal functionality.
2.2 Electrical Requirements (24 VAC)
The Honeywell T6 Pro Smart Thermostat (TH6320WF2003) requires a 24 VAC power supply, which is standard for most HVAC systems. Ensure your system provides this voltage to avoid damage or malfunction. Before installation, always shut off power to the HVAC system at the circuit breaker. The thermostat is compatible with systems requiring a common (C) wire for consistent power delivery. If your system lacks a C wire, check compatibility or consider a wiring adapter. Proper electrical setup ensures reliable operation and advanced smart features functionality.

Pre-Installation Steps
Before starting, gather all necessary tools and materials. Shut off power to the HVAC system at the circuit breaker. Verify system compatibility and ensure all safety precautions are followed. Review the installation manual thoroughly to avoid errors. Prepare the area for a clean and efficient setup process. Double-check wiring configurations and thermostat requirements to ensure a smooth installation experience.
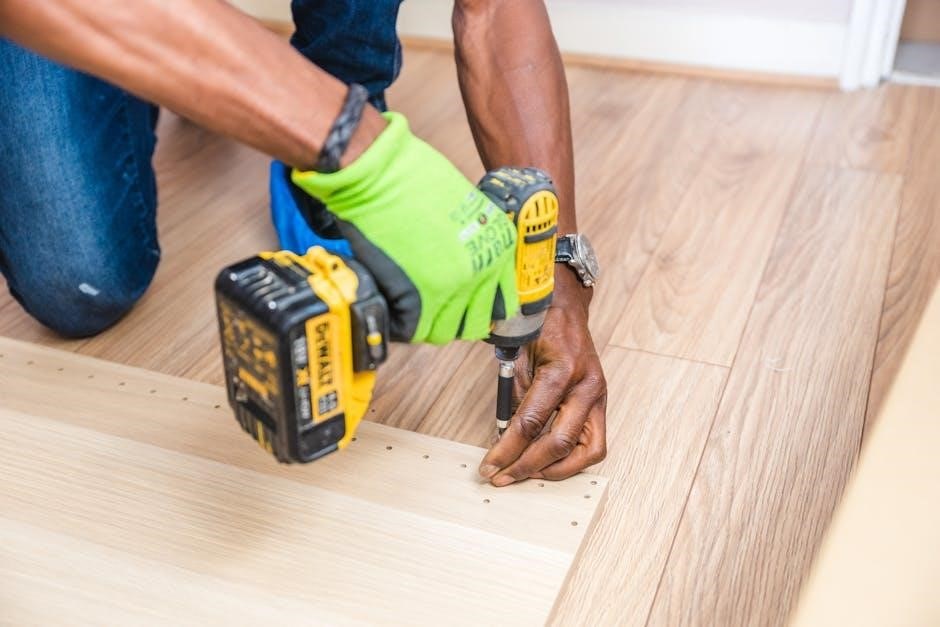
3.1 Gathering Necessary Tools and Materials
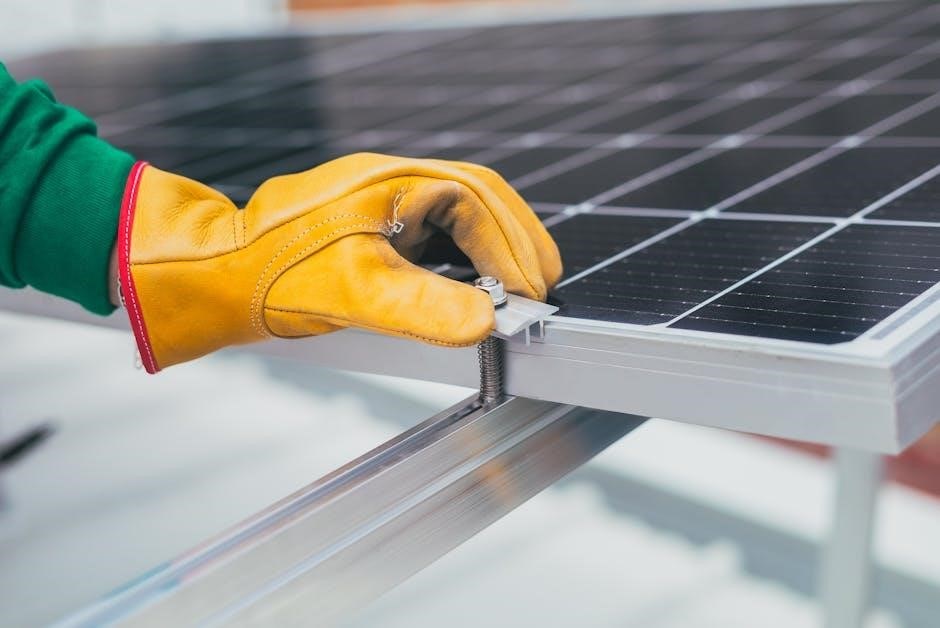
To ensure a smooth installation, gather the following tools and materials: screwdrivers (Phillips and flathead), drill with bits, wire strippers, pliers, mounting screws, anchors, and the thermostat kit. Collect the UWP (Universal Wall Plate) and base plate from the packaging. Ensure you have a voltage tester to confirm power is off. Check for any additional hardware required for specific HVAC systems. Refer to the manual for model-specific tools; Organize all components to avoid missing parts during installation. Verify compatibility of materials with your system type before proceeding.
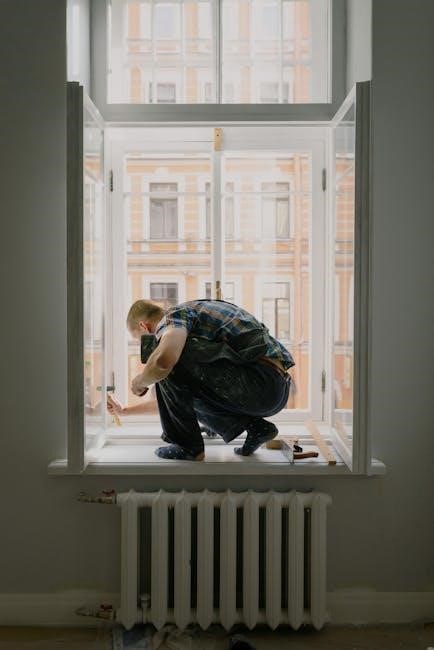
3.2 Shutting Off Power to the HVAC System
Before starting the installation, ensure the HVAC system’s power is completely turned off. Locate the circuit breaker or switch controlling the system and switch it off. Verify the power is off using a voltage tester to avoid electrical hazards. Once confirmed, proceed with installation. This step is critical for safety and prevents accidental system activation. Allow the system to cool down if necessary. If unsure, consult a licensed electrician. Always follow safety guidelines outlined in the manual to ensure a secure installation process.
Installation Process
Mount the wall plate, ensuring it is level. Connect the wires according to the wiring guide. Attach the thermostat to the wall plate and tighten the screws securely.
4.1 Mounting the Wall Plate
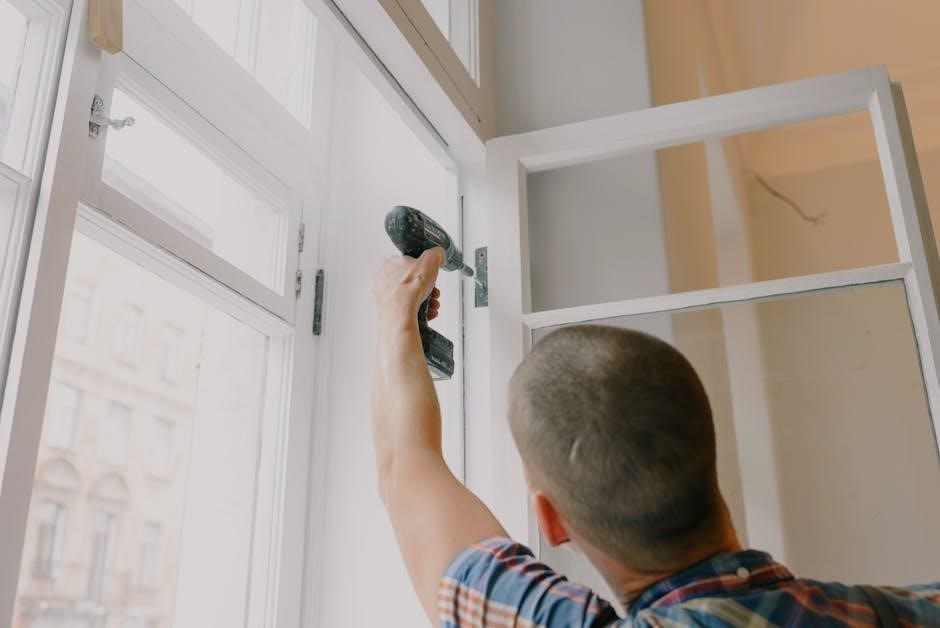
Begin by removing the thermostat from the wall plate. Mark the wall with the provided template or measure the screw holes. Drill pilot holes if necessary. Attach the wall plate using the supplied screws, ensuring it is level. Insert the wires through the wiring hole. Mount the Universal Wall Plate (UWP) over the wall anchors. Tighten the screws securely. Ensure the plate is stable and level before proceeding. This step is crucial for proper thermostat functionality and compatibility with your HVAC system.
4.2 Wiring the Thermostat
Connect the wires to the appropriate terminals on the wall plate, matching the labels (e.g., R, W, Y, G, C, O/B). Use the provided wiring guide to ensure correct connections. For heat pumps, consult the heat pump wiring guide for aux heat lockout configurations. Secure all wires firmly to avoid loose connections. Double-check the wiring diagram in the manual to confirm accuracy. Once wired, restore power to the HVAC system and test the thermostat’s functionality. Proper wiring ensures safe and efficient operation of the T6 Pro Smart Thermostat.
Configuration and Setup
After installation, power on the thermostat and follow on-screen prompts for initial setup. Configure temperature settings, scheduling, and smart features. Connect to Wi-Fi for remote access and updates.
5.1 Initial Thermostat Setup
Power on the thermostat and follow the on-screen instructions to complete the initial setup. Select your preferred language, location, and temperature units (Celsius or Fahrenheit). Set your home’s heating and cooling preferences, including schedules and smart features. Ensure the thermostat is connected to your HVAC system correctly. If issues arise, refer to the troubleshooting section. Proper setup ensures optimal performance and efficiency of your Honeywell T6 Pro Smart Thermostat.
5.2 Connecting to Wi-Fi
To connect the thermostat to Wi-Fi, navigate to the network settings on the device. Select your home Wi-Fi network from the available options and enter the password when prompted. Ensure the network is compatible (2.4 GHz is recommended). Once connected, the thermostat will confirm the connection. If issues arise, restart the thermostat or check your router. A successful connection enables remote control via the Honeywell Home app. Refer to the user guide for additional troubleshooting tips if needed.
Maintenance and Troubleshooting
Regularly clean the thermostat and check for firmware updates. Inspect wiring connections and ensure proper system operation. Troubleshoot common issues like connectivity problems or sensor malfunctions by restarting the device or checking wires. Refer to the user guide for detailed solutions and maintenance tips to ensure optimal performance.
6.1 Routine Maintenance Tips
Regularly clean the thermostat’s display and sensors to ensure accurate temperature readings. Check for firmware updates to maintain optimal performance. Inspect wiring connections for damage or corrosion. Replace air filters as recommended to improve system efficiency. Power cycle the thermostat monthly by turning it off and on to reset settings. Ensure proper system operation by verifying heating and cooling cycles. Schedule annual professional HVAC system checks to identify potential issues early. Keep the thermostat away from direct sunlight to avoid temperature reading inaccuracies. Follow these routine maintenance tips to extend the lifespan and reliability of your TH6320WF2003 thermostat.
6.2 Common Issues and Solutions
Troubleshooting the TH6320WF2003 thermostat? Common issues include wiring problems, Wi-Fi connectivity loss, or display malfunctions. For wiring issues, verify all connections are secure and correct. If Wi-Fi disconnects, reset the router and reconnect the thermostat. For display issues, power cycle the thermostat by turning it off and on. Ensure firmware is up-to-date, as outdated software can cause performance problems. Refer to the user manual for detailed diagnostic steps. Contact customer support if issues persist after attempting these solutions. Regular maintenance can help prevent many of these common problems.
Completion of the TH6320WF2003 installation ensures efficient HVAC control. Regular maintenance and adherence to guidelines optimize performance. Refer to provided resources for additional support.
7.1 Final Checks and Verification
After completing the installation, perform final checks to ensure proper functionality. Verify that the thermostat is level and securely mounted. Check all wire connections for accuracy and tightness. Test the system by running a heating and cooling cycle to confirm operation. Ensure the thermostat displays the correct temperature and responds to adjustments. Verify Wi-Fi connectivity and remote access functionality. Review the user guide for any additional verification steps. Ensure all safety features and lockouts are enabled as required; Refer to the user guide for troubleshooting common issues during final verification.
7.2 Resources for Further Assistance
For additional support, visit Honeywell’s official website or refer to the provided user guide. Contact customer support at 1-800-633-3992 or via email for assistance. Download the full TH6320WF2003 manual from Honeywell’s resource page. Access online tutorials and FAQs for troubleshooting. Engage with Honeywell’s community forum for peer assistance. Professional installation is recommended for complex setups. Ensure all warranty conditions are met by registering your device. Utilize the Honeywell Home app for remote monitoring and adjustments. Refer to local regulations for disposal guidelines. Additional resources include YouTube tutorials and certified installer networks.