Mexican spirit guides are deeply rooted in the country’s rich cultural heritage, blending indigenous traditions with Catholic influences. These guides are believed to offer protection, wisdom, and guidance to individuals seeking spiritual growth or solace. Drawing from a vibrant mix of folklore and religious practices, spirit guides play a significant role in helping people navigate life’s challenges. They are often associated with nature, ancestors, or revered figures, serving as a bridge between the physical and spiritual worlds.

Historical Context
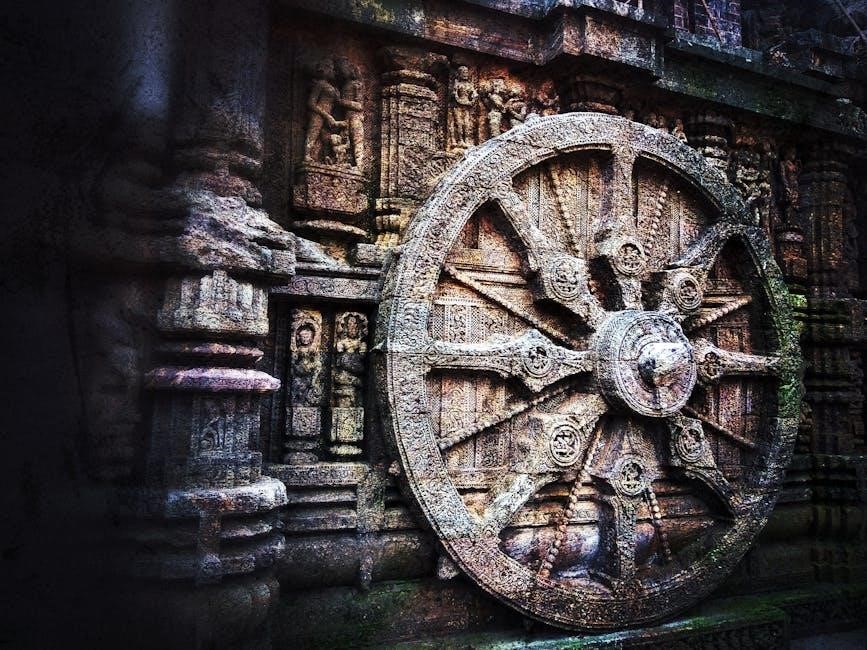
The concept of Mexican spirit guides is deeply intertwined with the country’s rich and complex history, which has been shaped by the blending of indigenous traditions and Catholicism. Long before the arrival of European colonizers, Mexico was home to a variety of indigenous cultures, each with its own spiritual beliefs and practices. These traditions often revolved around the veneration of deities, ancestors, and nature spirits, who were believed to guide individuals in their daily lives and provide protection from harm.
The Spanish conquest in the 16th century brought significant changes to Mexico’s spiritual landscape. Catholicism was imposed upon the indigenous population, leading to a syncretism of beliefs. Many indigenous traditions were suppressed, but they did not disappear entirely; Instead, they were incorporated into the new religious framework, resulting in a unique blend of practices that honored both the saints of the Catholic Church and the spirits of pre-Columbian religions. This fusion gave rise to the modern concept of spirit guides, which are often depicted as protective figures that can offer guidance, healing, and wisdom.

During the colonial period, the role of spirit guides became more formalized. Indigenous shamans and healers, known as curanderos, played a crucial role in preserving these traditions. They acted as intermediaries between the physical and spiritual worlds, helping individuals communicate with their spirit guides and seek solutions to their problems. The use of rituals, herbs, and sacred objects became central to these practices, and they continue to be an essential part of Mexican spirituality to this day.
The historical context of Mexican spirit guides also reflects the resilience and adaptability of indigenous cultures. Despite centuries of colonization and cultural suppression, the belief in these guides has endured. Today, they are celebrated as a testament to Mexico’s rich cultural heritage and its ability to preserve traditions in the face of external influences. The historical journey of these spirit guides highlights the importance of understanding their origins and the role they have played in shaping the spiritual identity of the Mexican people.

Types of Spirit Guides
Mexican spirit guides encompass a diverse array of spiritual entities, each with unique characteristics and roles. These guides are deeply rooted in the country’s cultural and religious traditions, reflecting the blending of indigenous beliefs and Catholicism. They are often sought out for guidance, protection, and healing, and their types vary widely depending on their origins and the purposes they serve.
One of the most common types of spirit guides in Mexican spirituality are the ancestral spirits. These are believed to be the spirits of deceased family members or community elders who continue to watch over the living. They are often called upon for wisdom, protection, and advice, and are honored through rituals and offerings. Ancestral spirits are considered a vital link between the past and the present, ensuring the continuation of cultural traditions and values.
Another prominent type of spirit guide is the nature spirits, which are associated with the natural world. These spirits are believed to inhabit elements such as rivers, mountains, and forests, and are often invoked for healing, fertility, and prosperity. In many indigenous cultures, nature spirits are seen as powerful beings that can influence the balance of nature and human life. They are frequently honored through ceremonies and offerings to maintain harmony with the environment.
The Catholic saints also play a significant role as spirit guides in Mexico. While they are part of the official Catholic Church, they are often syncretized with pre-Columbian deities and spirits. Saints like the Virgin of Guadalupe are revered as protectors and intercessors, and are believed to have the power to intervene in human affairs. Many Mexicans turn to these saints in times of need, seeking their guidance and blessings.
In addition to these, there are also folk saints and curanderos (healers) who are considered spirit guides. Folk saints, such as Santa Muerte, are not officially recognized by the Catholic Church but are deeply revered by many. They are often associated with specific aspects of life, such as death, love, and protection. Curanderos, on the other hand, are spiritual practitioners who act as intermediaries between the physical and spiritual worlds, helping individuals communicate with their spirit guides and resolve various challenges.
Lastly, animal spirits are also considered important guides in Mexican spirituality. These spirits are believed to possess unique qualities and strengths, and are often associated with specific animals that are considered sacred in indigenous cultures. For example, the eagle is often seen as a symbol of strength and vision, while the jaguar is associated with power and protection. Animal spirits are frequently invoked in rituals and ceremonies to seek guidance and empowerment.

Folk Saints
Folk saints are a unique and fascinating aspect of Mexican spirituality, blending traditional indigenous beliefs with Catholicism. These saints are not officially recognized by the Catholic Church but are deeply revered by many Mexicans. They often emerge from local legends, myths, or the lives of individuals who are believed to have performed miracles or demonstrated extraordinary spiritual power. Folk saints serve as intermediaries between the divine and the everyday lives of people, offering hope, protection, and guidance.
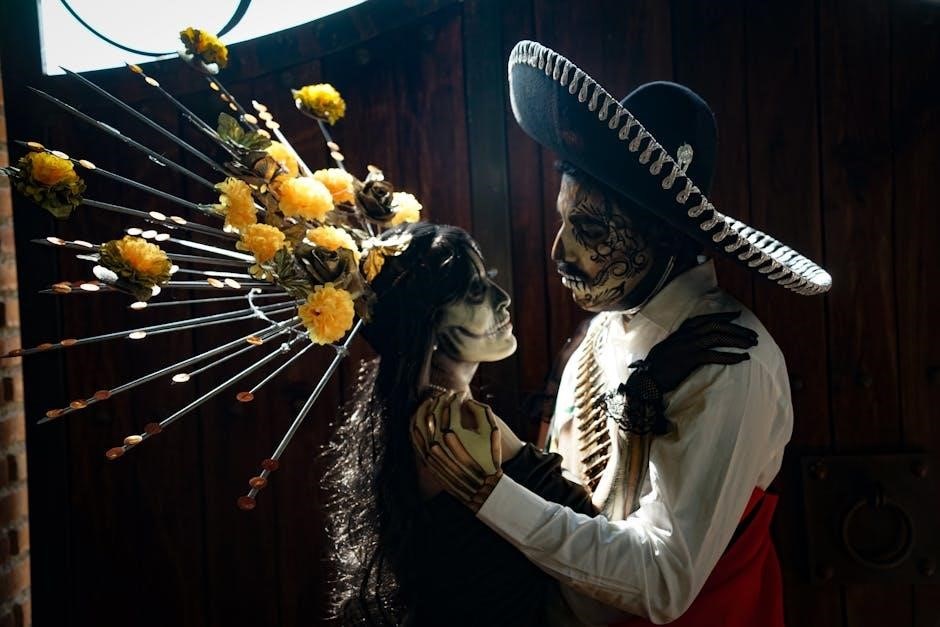
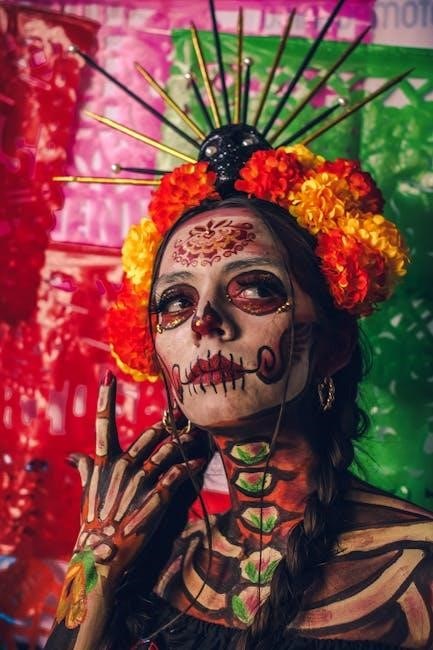
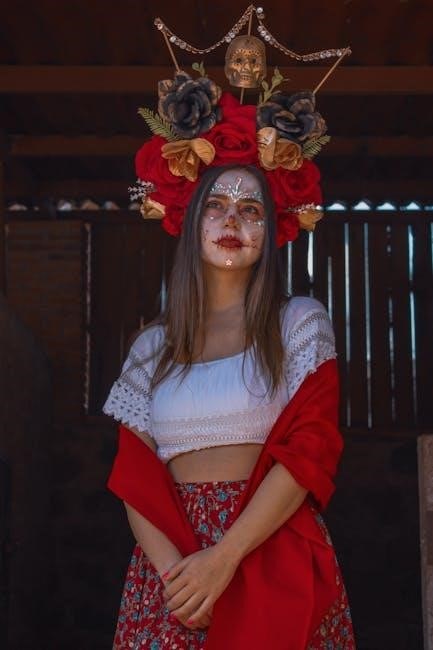
One of the most famous folk saints in Mexico is Santa Muerte, or “Holy Death.” Despite her macabre appearance, Santa Muerte is a beloved figure who is often called upon for protection, healing, and guidance in matters of love and death. Her origins are unclear, but she is believed to have gained popularity in the late 20th century, particularly among marginalized communities. Santa Muerte is often depicted as a skeletal figure dressed in colorful robes, and her altars are adorned with flowers, candles, and offerings from devotees.
Another prominent folk saint is Jesús Malverde, the “Narco Saint,” who is revered by some in the drug trafficking world. According to legend, Malverde was a Robin Hood-like figure who robbed from the rich to give to the poor before being executed. His cult following has grown significantly, with shrines and altars dedicated to him in various parts of Mexico. Devotees believe he offers protection and good fortune, especially in dangerous or uncertain situations.
Folk saints often arise from the needs and struggles of local communities. They are typically associated with specific causes or issues, such as love, health, or financial success. For example, Santito, a small child saint, is often invoked for matters related to children and family. These saints are celebrated through vibrant rituals, processions, and offerings, which reflect the creativity and resilience of Mexican culture.
The veneration of folk saints highlights the dynamic and syncretic nature of Mexican spirituality. These figures embody the blending of indigenous traditions, Catholicism, and modern influences, creating a unique form of devotion that resonates deeply with many people. Despite their unofficial status, folk saints play a vital role in the spiritual lives of Mexicans, offering comfort, hope, and a sense of connection to the divine.
Nature Spirits
Nature spirits, or espíritus de la naturaleza, hold a significant place in the spiritual landscape of Mexico. These spirits are believed to inhabit the land, forests, rivers, and mountains, embodying the essence of the natural world. Rooted in indigenous traditions, nature spirits are often seen as guardians of the environment and sources of wisdom, healing, and protection. They are deeply tied to the cycles of life, death, and rebirth, reflecting the interconnectedness of all living things.
One of the most revered nature spirits in Mexican culture is the Nahual, a shape-shifting being said to possess supernatural powers. According to legend, the Nahual can take on various forms, such as a jaguar, eagle, or serpent, depending on its role and the context of its interaction with humans. Nahuals are often associated with ancient Mesoamerican deities and are believed to serve as messengers between the physical and spiritual realms. They are sought out for guidance in matters of balance, harmony, and personal transformation.
Another prominent nature spirit is Tlaloc, the rain god, who is revered for his role in agriculture and fertility. Tlaloc is often depicted as a powerful figure with gourds for eyes and fangs, symbolizing his connection to water and the cycles of nature. Rituals and offerings are frequently made to Tlaloc to ensure prosperous harvests and to ward off droughts. His presence is felt in the rhythms of the rain and the vitality of the land.
Nature spirits are also associated with specific locations, such as caves, waterfalls, and sacred mountains. These sites are often considered portals to the spiritual world, where individuals can communicate with the spirits and seek their blessings. Pilgrimages to these locations are common, with devotees leaving offerings like flowers, incense, and candles as a sign of respect and gratitude.
The veneration of nature spirits reflects a deep respect for the natural world and a recognition of humanity’s place within it. By honoring these spirits, Mexicans seek to maintain balance and harmony in their lives and the world around them. This spiritual connection to nature continues to inspire modern practices, emphasizing the importance of preserving the environment and living in sync with the earth.
Modern Practices
Modern practices surrounding Mexican spirit guides reflect a dynamic blend of traditional beliefs and contemporary influences. While the core principles remain rooted in centuries-old customs, the way these practices are approached and integrated into daily life has evolved significantly. Today, many people seek guidance from spirit guides as a means of navigating the complexities of modern life, finding balance, and reconnecting with their cultural heritage.
The rise of digital platforms has played a pivotal role in making spirit guides more accessible. Apps, websites, and social media now offer virtual consultations with spiritual leaders, online rituals, and educational resources about Mexican folklore. This digital transformation has not only preserved these traditions but also introduced them to a global audience. Younger generations, in particular, are embracing this fusion of technology and spirituality, ensuring the continuity of these practices in the digital age.
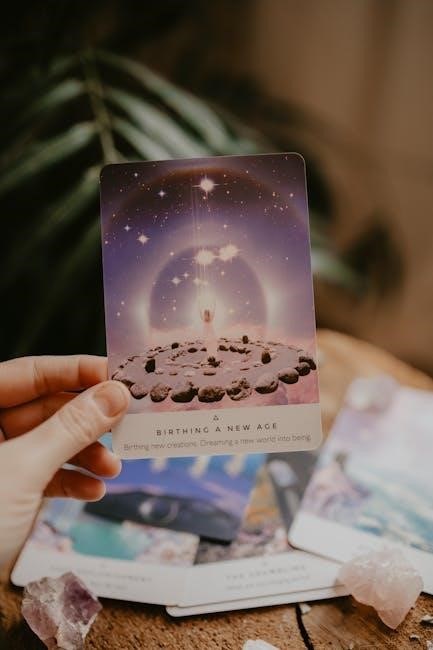
Another modern trend is the integration of spirit guide practices with wellness and self-care routines. Many individuals now incorporate rituals, such as meditation, smudging, and altar-building, into their daily lives as a way to promote mental and emotional well-being. The use of essential oils, crystals, and sacred plants like copal and palo santo has become increasingly popular, blending traditional techniques with contemporary wellness practices.
Additionally, the global interest in Mexican culture has led to the creation of workshops, retreats, and cultural events that focus on spirit guides. These gatherings provide a space for people to learn about and connect with the spiritual traditions of Mexico, fostering a sense of community and shared purpose. Many of these events are now held internationally, highlighting the universal appeal of these practices.

Despite these modern adaptations, the essence of spirit guide practices remains deeply tied to Mexico’s indigenous and folkloric roots. Rituals continue to honor the cycles of nature, the wisdom of ancestors, and the guidance of revered figures like the Virgin of Guadalupe and various folk saints. This blend of tradition and innovation ensures that Mexican spirit guides remain a vital and evolving part of modern spiritual life.
Benefits of Spirit Guides
Mexican spirit guides offer a multitude of benefits to those who seek their guidance, providing a profound sense of connection, healing, and purpose. These benefits extend beyond the spiritual realm, impacting emotional, mental, and even physical well-being. By serving as intermediaries between the physical and spiritual worlds, spirit guides help individuals navigate life’s challenges with greater clarity and resilience.
One of the most significant benefits of spirit guides is their ability to provide protection and safety. Many believe that these guides act as guardians, shielding individuals from negative energies, misfortune, or harmful influences. This sense of protection fosters a deeper feeling of security and peace, allowing people to approach life’s uncertainties with confidence and courage. Rituals and prayers to honor spirit guides often reinforce this protective bond, creating a spiritual shield that accompanies individuals in their daily lives.
Spirit guides also play a crucial role in emotional and psychological healing. They are often sought out during times of grief, loss, or personal struggle, offering comfort and wisdom. Through rituals, meditation, or direct communication, individuals can gain insights into their emotional wounds and find pathways toward healing. The guidance received from spirit guides encourages self-reflection, forgiveness, and personal growth, helping individuals move forward with greater emotional resilience.
Another profound benefit is the guidance and wisdom that spirit guides provide. They are believed to offer advice on life’s important decisions, helping individuals align with their true purpose and potential. This guidance is not limited to major life choices but also extends to everyday challenges, offering a sense of direction and clarity. Many people find that connecting with spirit guides enhances their intuition, allowing them to make more informed and meaningful decisions.
Additionally, spirit guides foster a deep connection to cultural heritage and identity. For many Mexicans and those of Mexican descent, these guides represent a link to ancestral traditions and values. This connection can be a source of pride and strength, helping individuals feel rooted in their cultural identity while navigating the complexities of modern life. The rituals and practices associated with spirit guides serve as a bridge between the past and present, preserving cultural traditions for future generations.
Finally, spirit guides empower individuals to embrace their unique journey and purpose. By offering encouragement and support, they help people overcome self-doubt and fear, fostering a sense of empowerment and self-discovery. This empowerment often extends beyond personal growth, inspiring individuals to contribute positively to their communities and the world at large.
Mexican spirit guides embody the rich cultural and spiritual heritage of Mexico, serving as a profound connection to the divine, ancestors, and nature. These guides, deeply rooted in tradition, offer individuals a bridge between the physical and spiritual worlds, providing comfort, wisdom, and guidance. By understanding and honoring these spirit guides, people can tap into a wealth of knowledge and support, enriching their lives and fostering a deeper sense of purpose.
The blend of indigenous beliefs and Catholic traditions has created a unique and vibrant spiritual landscape in Mexico. Spirit guides, whether in the form of folk saints, nature spirits, or ancestral figures, reflect this cultural fusion. They are not just spiritual entities but also symbols of resilience, adaptation, and the enduring connection to one’s heritage. This duality is a testament to the strength and creativity of Mexican spirituality.
The benefits of spirit guides are vast, offering individuals protection, healing, and insight. They provide solace during times of uncertainty and guidance when navigating life’s challenges. By honoring these guides through rituals, prayers, and daily practices, people can cultivate a sense of balance and harmony in their lives. This spiritual connection also fosters a deeper understanding of oneself and the world, promoting personal growth and transformation.
As modern life becomes increasingly fast-paced and disconnected, the relevance of spirit guides endures. They remind us of the importance of slowing down, reflecting, and reconnecting with our inner selves and the world around us. Whether through traditional practices or contemporary interpretations, spirit guides continue to inspire and uplift, offering timeless wisdom for today’s challenges.