
kenmore gas stove instruction manual
- Published
- in Manuals
Safety Precautions and Instructions
Always read the manual carefully before using your Kenmore gas stove․ Ensure installation is done by a qualified professional․ Keep flammable materials away from the stove․ Never leave cooking unattended, especially with children nearby․ Use proper cookware to avoid accidents․
1․1 Important Safety Symbols and Warnings
Familiarize yourself with safety symbols like the warning triangle and exclamation mark, indicating critical safety information․ These symbols highlight risks such as fire hazards, improper ventilation, and gas leaks․ Always follow instructions to avoid accidents․ Never ignore warnings, as they are designed to protect you and ensure safe operation of your Kenmore gas stove․
1․2 Fire and Explosion Risks
Always ensure proper gas supply connections and avoid using incorrect gas types․ Never operate the stove near open flames or sparks․ Keep flammable materials away from burners and the oven․ Ensure the stove is installed by a qualified professional to minimize fire hazards․ Failure to follow these precautions can lead to fire or explosion risks․
1․3 Proper Handling of Gas Appliances
Always turn off the gas supply when not in use or during maintenance․ Never modify or repair gas components yourself․ Use only genuine Kenmore parts for replacements․ Ensure the stove is installed on a stable, level surface․ Keep the area around the stove clean and clear of obstructions to maintain proper ventilation and function․

Installation Requirements
Ensure the gas stove is installed on a stable, level surface, away from flammable materials․ Maintain proper clearance from overhead cabinets (min․ 12″)․ Install near a ventilation system or window for optimal airflow and gas fume removal․ Connect gas supply lines securely, ensuring all fittings are leak-tested by a qualified technician․
2․1 Location and Clearance Guidelines
Position the Kenmore gas stove on a stable, level surface, ensuring at least 12 inches of clearance from overhead cabinets․ Maintain a minimum of 3 inches from adjacent walls and countertops to prevent heat damage․ Install the stove away from flammable materials, such as curtains or towels․ Ensure proximity to a ventilation system or window for proper airflow and gas fume removal․ Keep the area clear of obstructions for safe operation․ Always follow local building codes and manufacturer recommendations for installation․
2․2 Gas Supply and Connection Instructions
Connect the Kenmore gas stove to a natural gas supply line of the correct size and pressure․ Use approved gas tubing and fittings to ensure a leak-tight connection․ Secure all connections with appropriate fasteners․ Perform a gas leak test using soapy water after installation․ If converting to LP gas, adjust the regulator and burner orifices according to the manual․ Always turn off the gas supply before servicing․ Hire a qualified technician if unsure about any step to ensure safety and compliance with local regulations․ Proper installation is crucial to prevent hazards and ensure efficient operation, so double-check all connections before use․
2․3 Converting to LP (Bottled) Gas
To convert your Kenmore gas stove to LP gas, adjust the pressure regulator and burner orifices as specified in the manual․ Use the provided conversion kit to ensure compatibility․ Replace the natural gas jets with LP-specific nozzles․ After conversion, test all burners to ensure proper flame color and performance․ Always follow the manufacturer’s instructions precisely to avoid unsafe operating conditions and maintain warranty validity․ Proper conversion ensures efficient and safe operation with bottled gas, so double-check all adjustments before regular use․

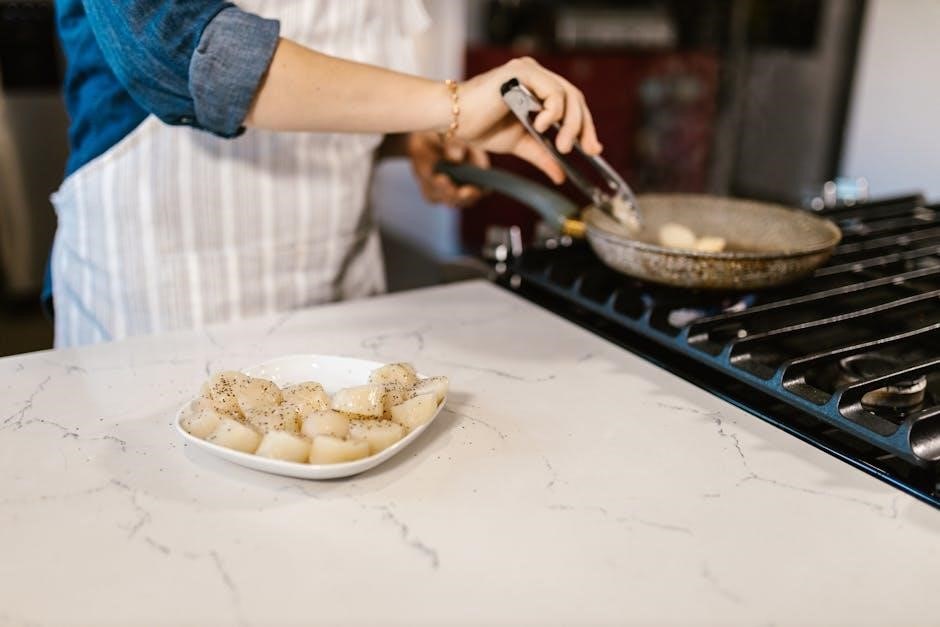
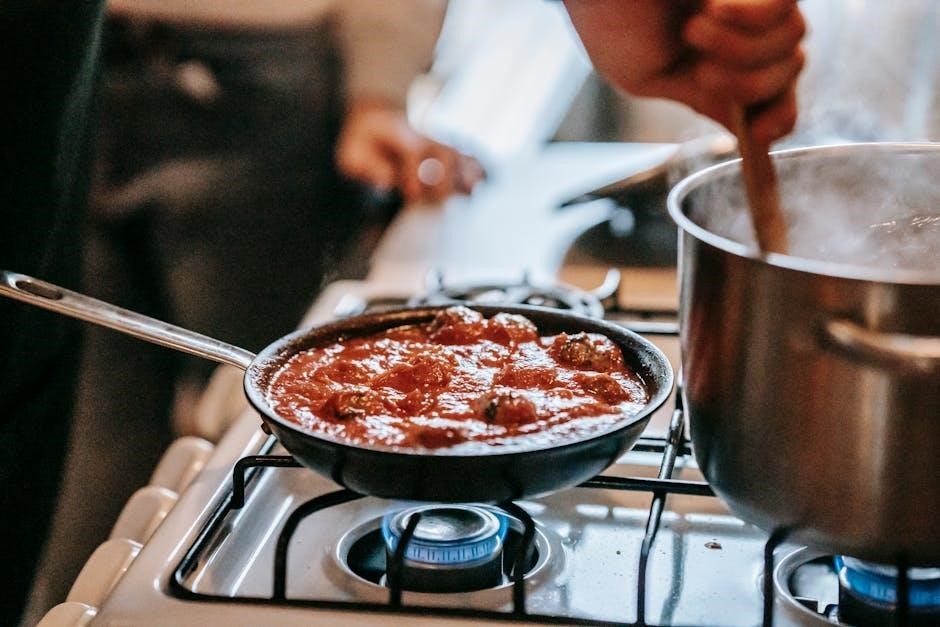
Operating the Gas Surface Burners
Place cooking utensil on the burner, push the control knob in, and turn counterclockwise to ignite․ Adjust flame size as needed using the knob․ Ensure proper flame color and stability for safe cooking․ Always monitor the burners while in use and keep flammable materials away from the stove․ Follow manual instructions for optimal performance․
3․1 Igniting and Adjusting Burners
Place cookware on the burner, push the control knob in, and turn counterclockwise to ignite․ Adjust the flame by turning the knob; a blue flame indicates proper combustion․ For smaller flames, turn the knob further; for larger, reduce․ Avoid yellow flames․ Always monitor burners during use and keep flammable materials away․
3․2 Cooking Utensil Requirements
Use cookware suitable for gas stoves, ensuring flat bottoms for even heat distribution․ Avoid glass or ceramic utensils near open flames․ Keep flammable materials away․ Cookware size should match burner dimensions to prevent flames from extending beyond the cookware edges․ Always place utensils on burners before igniting to ensure safe and efficient cooking․
Using the Oven
Preheat the oven to the desired temperature before cooking․ Use oven racks correctly and ensure cookware is oven-safe․ Follow recipe guidelines for temperature and timing․ Always refer to the manual for specific procedures and safety tips to ensure optimal performance and avoid accidents․
4․1 Preheating and Temperature Control
To ensure accurate cooking, preheat the oven to the desired temperature before placing food inside․ Use the electronic oven control to set the temperature precisely․ Allow the oven to preheat for at least 10-15 minutes․ Monitor the temperature using the built-in thermostat to maintain consistency․ Avoid opening the oven door too frequently during preheating to prevent heat loss and uneven cooking․
4․2 Oven Racks and Cookware Placement
Position oven racks according to the size and type of cookware․ Leave at least 1-2 inches of space between racks for proper air circulation․ Use oven-safe cookware and avoid placing foil directly on the oven floor․ Ensure cookware is centered and evenly spaced to promote consistent cooking results․ Adjust rack positions based on the recipe requirements for optimal performance․
Maintenance and Cleaning
Regularly clean the cooktop and burners with mild detergents․ Avoid abrasive materials that may scratch surfaces․ Check burner ports for blockages and ensure proper ventilation for safe operation․
5․1 Cleaning the Cooktop and Burners
For daily maintenance, wipe the cooktop with a damp cloth and mild soap․ Remove grates and burners, soak them in warm soapy water, then scrub gently․ Avoid using abrasive cleaners or scouring pads, as they can damage the finish․ Dry all parts thoroughly before reassembling to prevent rust․ Regular cleaning ensures optimal performance and longevity of your Kenmore gas stove․
5․2 Oven Cleaning and Care
Use the self-clean feature to simplify oven maintenance․ Avoid harsh chemicals, as they can damage the finish․ For tough stains, apply a gentle cleanser with a soft sponge․ Always allow the oven to cool before cleaning․ Replace oven racks carefully to prevent scratching․ Regular cleaning ensures even heating and prevents food residue buildup, maintaining your Kenmore gas stove’s performance and appearance․
Troubleshooting Common Issues
Identify common issues like burner ignition problems or uneven heating․ Refer to the manual for solutions․ Check gas flow, ignition components, and electrical connections for proper function and safety․
6․1 Burner Ignition Problems
If burners fail to ignite, check for blockages in the igniter or burner ports․ Ensure the gas supply is turned on and the regulator is properly adjusted․ Clean the burner caps and ports regularly․ If issues persist, consult the manual or contact Kenmore customer support for professional assistance to ensure safe and proper burner function․
6․2 Oven Temperature Inconsistencies
If the oven temperature varies, check the sensor for accuracy․ Use an oven thermometer to verify readings․ Ensure proper preheating and stable placement of cookware․ Clean the oven regularly to avoid residue interference․ If issues persist, recalibrate the oven control or contact Kenmore support for professional adjustment to maintain consistent cooking temperatures․

Additional Features and Settings
Explore advanced features like electronic oven control with a kitchen timer for precise cooking․ Utilize special modes such as convection for even heating and faster cooking results․
7․1 Electronic Oven Control and Timer
The electronic oven control panel offers precise temperature management and a digital timer for accurate cooking․ Set and monitor cooking times effortlessly, ensuring dishes are cooked to perfection․ The timer alerts you when cooking is complete, while the control panel provides intuitive navigation for various oven functions, enhancing your overall cooking experience with efficiency and convenience․
7․2 Special Cooking Modes (e․g․, Convection)
Utilize the convection mode for faster and more even cooking by circulating hot air․ This feature is ideal for roasting, baking, and broiling․ Other special modes, like proofing for dough or slow cooking, enhance versatility․ Refer to the manual for specific settings and guidelines to achieve optimal results with these advanced cooking functions․

Warranty and Customer Support
Kenmore offers comprehensive warranty coverage for parts and labor․ Register your appliance for extended benefits․ Contact customer support for assistance with repairs, parts, or general inquiries at Sears Parts Direct․
8․1 Understanding Your Warranty Coverage
Your Kenmore warranty covers parts and labor for manufacturing defects․ Register your stove to activate extended benefits․ Coverage varies by model; check your manual for specifics․ Contact Kenmore customer service for claims assistance or visit their website for detailed warranty terms and conditions․
8․2 Contacting Kenmore Customer Service
For assistance, visit Kenmore’s official website or call their customer support hotline․ Live chat is also available for quick inquiries․ Ensure you have your model number ready for efficient service․ Representatives are trained to help with warranty claims, troubleshooting, and parts ordering, providing comprehensive support for your gas stove needs․

Parts and Accessories
Kenmore gas stove parts and accessories are available online or through Sears Parts Direct․ Use genuine Kenmore products to ensure compatibility and safety․ Refer to your manual for detailed lists and diagrams to find the correct components for your specific model․
9․1 Replacing Burner Parts
To replace burner parts on your Kenmore gas stove, refer to the exploded diagrams in your manual․ Order genuine Kenmore parts for compatibility․ Turn off the gas supply and disconnect power before starting․ Use a wrench to remove old parts and install new ones securely․ Ensure all connections are tight to prevent gas leaks․ Always follow safety guidelines provided in the manual․
9․2 Ordering Genuine Kenmore Accessories
Order genuine Kenmore accessories through authorized dealers or the official website․ Enter your model number to find compatible parts․ Ensure accessories are certified to maintain warranty and safety standards․ Avoid third-party products that may void your warranty or compromise performance․ Use secure payment methods and verify product authenticity before purchase․
Environmental and Energy Efficiency
Promote eco-friendly cooking by using energy-efficient burners and proper cookware․ Regular maintenance ensures optimal performance, reducing energy waste․ Conserve resources and lower utility bills․
10․1 Eco-Friendly Cooking Practices
Adopt eco-friendly habits by using appropriately sized cookware to minimize heat loss․ Opt for lids to retain heat and reduce cooking time․ Regularly clean burners to ensure efficient combustion․ Use energy-saving features like convection cooking when available․ Properly maintain your stove to optimize energy usage and lower environmental impact while ensuring safe operation․
10․2 Energy-Saving Tips for Gas Stoves
Maximize energy efficiency by using the correct burner size for your cookware․ Turn off burners as soon as cooking is complete to avoid unnecessary heat loss․ Regularly clean burners to ensure proper gas flow․ Utilize simmer settings for low-heat cooking instead of leaving burners on high․ Always maintain your stove to ensure optimal performance and energy savings․
Ensure all connections are secure and test burners for proper ignition․ Verify oven temperature accuracy and review maintenance schedules․ Regular checks ensure optimal performance and safety of your Kenmore gas stove․
11․1 Ensuring Proper Appliance Function
Regularly inspect gas connections and burner igniters for proper function․ Ensure the oven preheats accurately and burnsers light consistently․ Check for any blockages in vents or burners․ Verify all knobs and controls operate smoothly․ Refer to the manual for specific checks to maintain optimal performance and safety․ Routine inspections help prevent issues and ensure reliable operation of your Kenmore gas stove․
11․2 Routine Maintenance Schedule
Perform monthly checks on burners and igniters, ensuring they are clean and functioning properly․ Every 3-6 months, inspect gas lines for leaks and tighten connections if necessary․ Annually, have a professional inspect the appliance for internal wear and tear․ Regular cleaning of the cooktop and oven racks prevents grease buildup․ Schedule maintenance to ensure optimal performance and safety of your Kenmore gas stove․